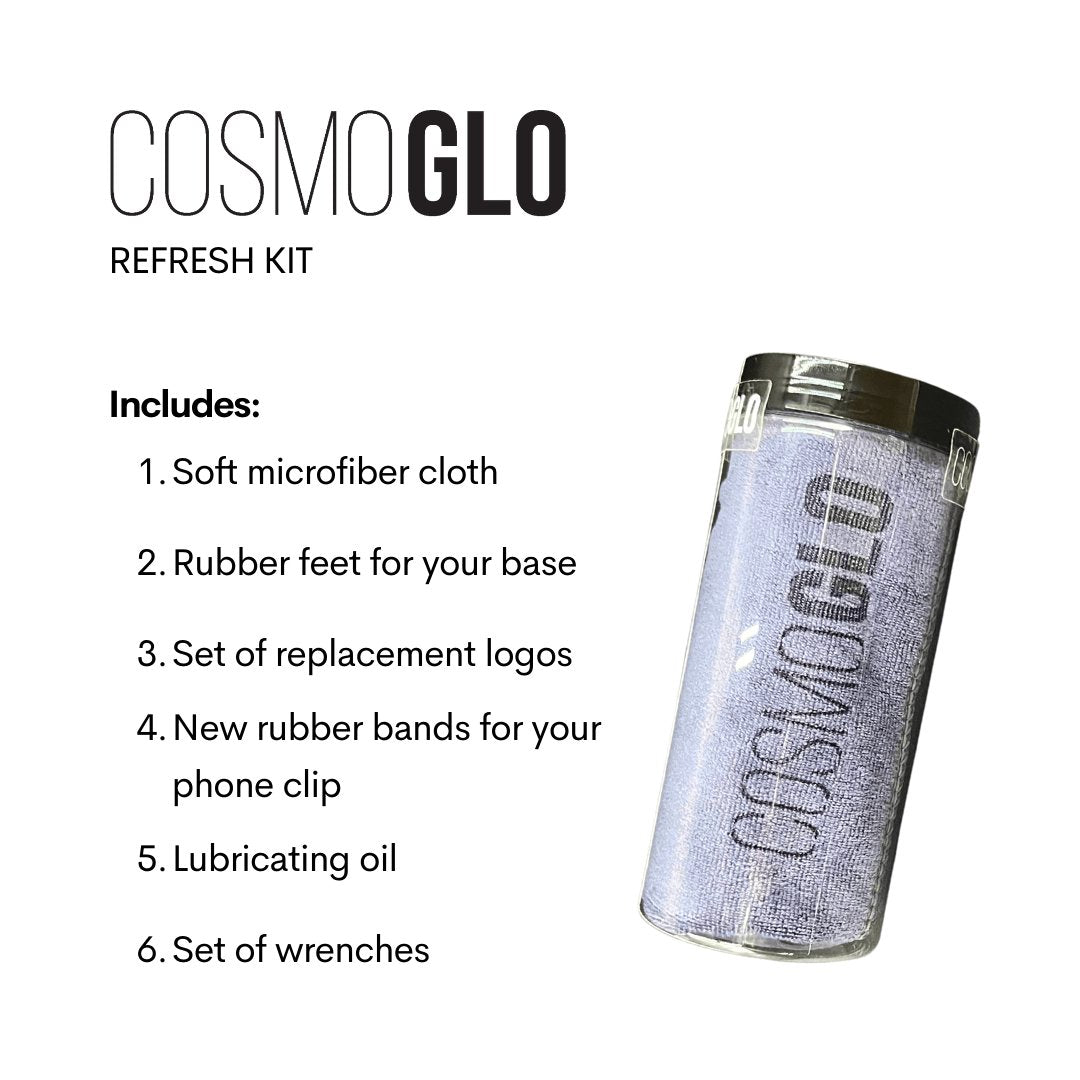

Refresh Kit Instructions
1. Disassemble Light
Use the provided allen wrench to remove the base screws to separate the poles from the base. Gently lay the light on its side on a soft surface such as a towel to prevent scratching. Remove the barrel screw and separate the halo from the poles.
2. Check Rubber Feet
Flip the base over and inspect the underside. Verify that all four rubber feet are correctly in place. If any feet are missing, clean the area with water and a gentle detergent before attaching a replacement foot from your refresh kit.
3. Lubricate Your Light
- Oil the Bottom of Inner Pole: Lubricate the bottom ring of the inner pole using the provided oil. Wipe away excess to prevent drips.
- Oil Top of Poles: Apply a small amount of oil to the top of the inner pole where it inserts into the halo.
- Optional: Oil Halo Joint: If tension is noticed, apply oil to the halo joint, rotating it both clockwise and counterclockwise.
Remember to rotate the halo an equal number of times in alternate directions to relieve tension on the cords and ensure the longevity of your light during day to day use.
4. Reassemble Light
Use the assembly instructions to carefully reassemble the light, and be sure to tighten all screws fully. Instructions can be found here.
5. Cleaning
Use water and a gentle detergent to clean your light. Dry each area after cleaning. Dust, fingerprints, or smudging can be removed with the provided microfiber cloth. Do not use alcohol-based cleaners or products with harsh chemicals. Barrier film is a great alternative for sanitizing your light between clients.
5. Replace Logos
- Replace Logos if Needed:
- Verify logos' condition and replace if necessary using the provided set.
- Logo Replacement Steps:
- Use a credit card or similar material to gently push against each letter's edge.
- Wipe the area with the microfiber cloth.
- Peel the new logo and clear film, align, and press down letter by letter.
- Slowly remove the plastic film from the corner at an angle.
If you have any further questions or need additional assistance, please reach out to our customer service team at [email protected].


